Kitchen Countertop Installation Riverside: Undermount vs Drop In Sink
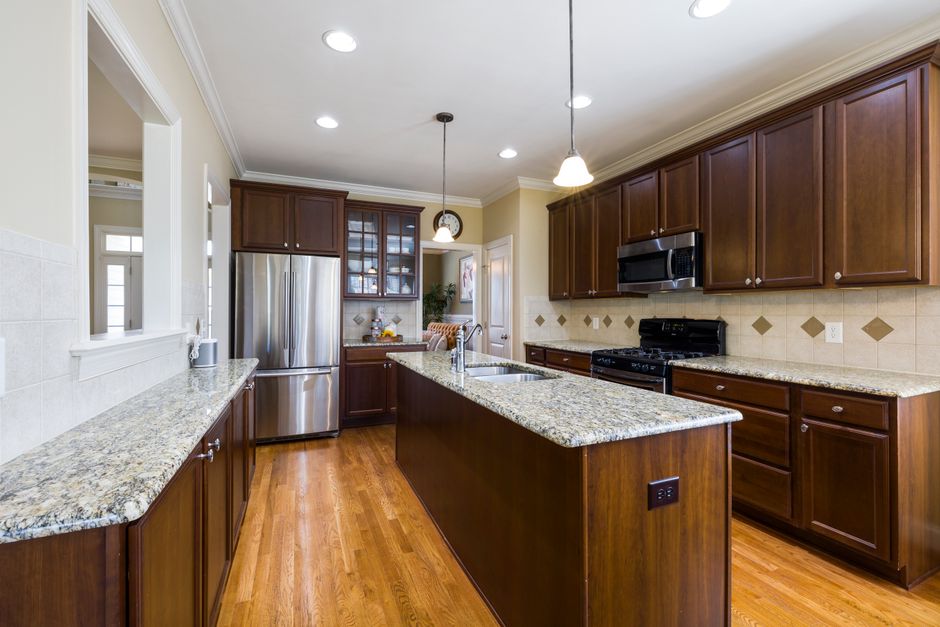
The right sink mounting style depends first on what your countertop is made of, because laminate and tile tops cannot support an undermount sink without a full replacement.
Countertop Material Decides the Option
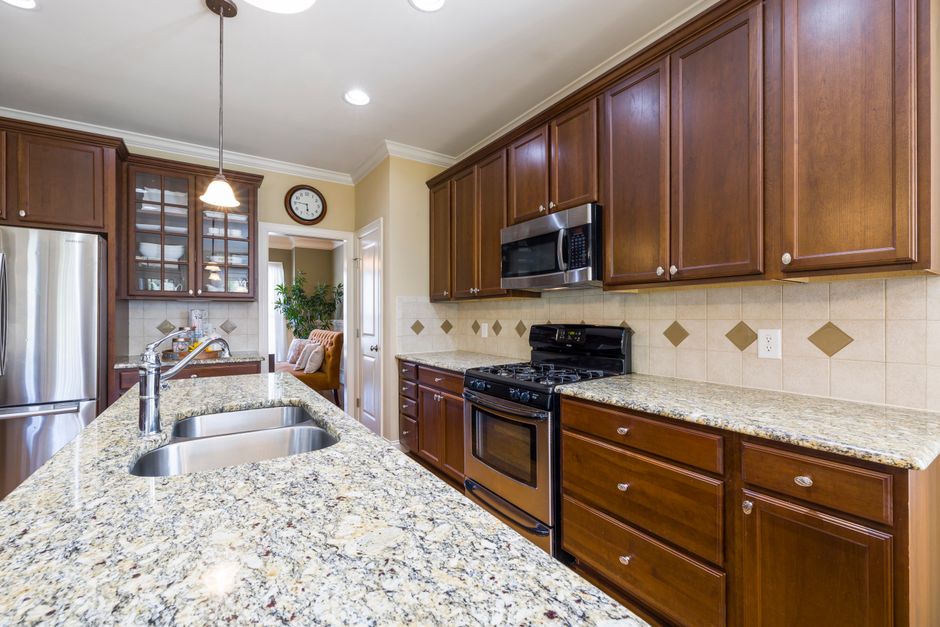
An undermount sink needs a solid slab with a finished cut edge. Granite, quartz, solid surface, and porcelain slab meet this requirement. Standard laminate has a particleboard core that is exposed at the cutout, so it pairs with a drop in sink. Many older Riverside tract kitchens still have laminate or tile tops, and that limits the choice until the top is replaced. If you are keeping your existing laminate, a drop in sink is the only practical route. If you are installing new stone or solid surface, both styles become possible.
How Each Sink Is Held in Place
A drop in sink has a rim that rests on top of the counter and is sealed with a bead of silicone, often with clips from below. An undermount hangs beneath the counter. Clips or brackets anchored into the stone carry the load, and silicone seals the joint. Expect mechanical fasteners such as epoxy set studs or drilled anchors with clips. Silicone alone should not be the only thing holding the sink up.
Seismic Anchoring Matters in Riverside
Riverside sits in a seismically active area. A heavy, full undermount sink that is held mainly by adhesive is a bigger risk during shaking than one held by proper mechanical anchors. This is one more reason to insist on real fasteners. Ask your fabricator how the undermount will be anchored before you sign off on the design.
Support for Heavy Sinks
Cast iron and fireclay sinks are heavy even when empty. Add water, dishes, and a garbage disposal, and the load grows a lot. For these, ask about extra support from below, such as rails or brackets fixed to the cabinet, on top of the clips. The sink base cabinet must be wide enough for the clips and the bowl flange. Older homes may have narrow or out of square sink bases, so measure inside the cabinet, not just the door opening.
Choose the Sink Before Templating
The cutout is made to fit the exact sink model. Have the sink on site, or give the fabricator its cutout template, at templating time. Changing sinks after the cut is made usually does not work. This applies to both styles but is critical for undermount because the cut edge of the stone is visible and must be polished smooth. On a drop in sink the rim covers the cut edge, so the cutout can be left rough.
Reveal Styles Affect Cleaning
For an undermount you pick a reveal. Positive reveal shows a sliver of the sink rim. Zero reveal makes the stone edge flush with the bowl. Negative reveal lets the stone overhang the bowl. Positive and zero reveals are easier to wipe clean. A negative reveal hides a ledge where grime and scale collect out of sight. Ask for rounded inside corners on the cutout. Square inside corners concentrate stress and are a common place for cracks to start. The narrow strip of stone in front of the sink is the weakest part of the top. Ask whether it will be reinforced and how it will be handled during install.
Hard Water Buildup Differs by Mount
Riverside water leaves white mineral crust where water sits. With a drop in sink, that is along the rim and around the faucet base. With an undermount, it is along the seam line. Wiping the sink area dry after use is the simplest way to prevent buildup. Match the descaler to the stone. Vinegar and other acidic cleaners will etch marble and some limestones, and they can dull certain finishes. Use a cleaner labeled safe for your countertop material when you remove hard water deposits.
Daily Cleaning Comparison
With an undermount, you can sweep crumbs and water straight from the counter into the bowl. A drop in rim creates a lip that catches debris and needs regular cleaning along its edge. The difference shows up every time you wipe the counter.
Annual Seam Inspection for Undermount
Look for a dark line, gaps, peeling silicone, or water drips on the cabinet floor. These are signs the seal has failed. Cut out the old silicone and reseal it before water reaches the cabinet. Check the clips from inside the cabinet when you inspect the seam. Tighten them if the sink has any movement, or if the seal shows a gap that keeps coming back. Disposal vibration and repeated loading can loosen undermount clips over the years.
Drop In Rim Failure on Laminate
If the rim seal fails on laminate, water wicks under the rim into the particleboard core. The core then swells and lifts the laminate, and that damage cannot be reversed. Reseal at the first sign of a gap or a soft, raised edge.
Faucet and Accessory Holes
For an undermount, the stone itself is drilled for the faucet, soap dispenser, dishwasher air gap, filtered water tap, or reverse osmosis faucet. Decide the count and spacing before fabrication. Many drop in sinks come with holes already punched in the deck, which can simplify the decision but limits flexibility.
Drain Height Can Be a Surprise
An undermount sits lower than a drop in by roughly the thickness of the counter, so the drain outlet ends up lower too. In older homes, the drain stub in the wall may be set high. That can leave too little room for a proper trap, especially with a disposal, and may mean moving the drain. Check drain height before you commit.
Future Replacement Realities
A drop in sink can be lifted out and swapped from above, as long as the new rim covers the old cutout. Replacing an undermount means cutting the seal and working from below. The new sink must match the existing cutout, and there is a risk of chipping the stone edge. Do not plan to convert an existing top from drop in to undermount. A drop in cutout is usually larger than an undermount needs, and its edge is unpolished. Switching styles on an existing stone top is rarely practical without a new countertop.
Sound and Gauge on Stainless
If you choose stainless undermount, look for sound deadening pads or coating on the underside. Lower gauge numbers mean thicker steel, which dents less and drums less when water hits it.
Level and Drainage Check
The sink should be level front to back and side to side so water runs to the drain and does not pool in corners. Check this before the silicone cures.
Cure Time in Riverside Heat
Do not load the sink, run the disposal, or hang weight on it until the silicone and any epoxy have cured. Follow the product label for timing. Riverside summer heat speeds up skinning and set time, so installers should work in a shaded or conditioned space and tool joints quickly.
Summary Checklist
- Confirm your countertop material supports the mounting style you want.
- Require mechanical anchors for any undermount, not just silicone.
- Add cabinet mounted support rails for cast iron or fireclay.
- Select the sink and finalize faucet holes before templating.
- Choose a positive or zero reveal for easier cleaning.
- Use only stone safe cleaners for hard water deposits.
- Inspect the undermount seam and clips once a year.
- Reseal a drop in rim at the first sign of failure on laminate.
- Verify drain height works with the lower undermount outlet.
- Plan for the possibility that undermount replacement is more involved.